
In the world of beauty and self-care, nothing feels more satisfying than leaving the salon with a fresh set of glossy gel nails. However, the excitement can quickly turn into disappointment when your gel polish starts chipping after just two days.
Why Does Your Gel Manicure Chip?
Before diving into solutions, let’s identify some common culprits behind this unwelcome phenomenon:
1. Improper Nail Preparation: Skipping or rushing the prep stage can be detrimental.
2. Inadequate Nail Shaping: Rounded edges last longer than square ones.
3. Incorrect Application of Base Coat: Laying the right foundation is essential.
4. Omitting or Rushed Curing Process: Insufficient curing leads to weak adherence.
5. Overuse of Oil or Moisture Before Application: Can prevent proper bonding.
6. Incorrect Top Coat Application: Final protection layer often overlooked or poorly applied.
7. Daily Activities and Habits: Excessive exposure to water or chemicals.
Now, let’s explore actionable strategies to tackle each issue.
1. Perfect Your Nail Preparation
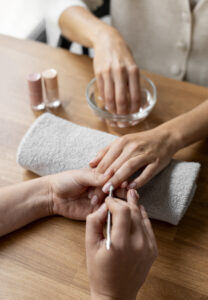
Nail preparation is the cornerstone of any successful gel manicure. Begin by thoroughly cleaning the nails with an acetone-based cleanser to remove old polish and oils. Follow this by gently buffing the nail surface to create a matte finish, enhancing the adhesion of the base coat. Use a nail dehydrator or primer to finalize the prep.
Tip: Avoid soaking your hands in water before application, as moisture expands the nails and leads to lifting once dried.
2. Shape Your Nails Correctly
Square nails may look chic but are prone to catching and chipping. Opt for a rounded or “squoval” shape that reduces edge vulnerability. Ensure that the nail edges are smooth to prevent any snags or chips.
Tip: Regularly file the edges lightly between appointments to keep them in top shape.
3. Apply the Base Coat with Precision
The base coat is crucial in ensuring the longevity of your gel polish. Ensure it’s applied evenly and covers the entire nail surface, including the edges. Thin, even layers are key, so resist the urge to overload the brush.
Tip: Consider using a rubber base coat for added strength, especially on brittle nails.
4. Take Time with the Curing Process
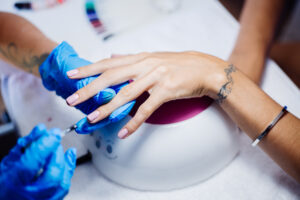
A common mistake is not curing each layer long enough under the UV or LED lamp. For optimal results, adhere to the curing times recommended by the gel polish manufacturer. Ensure full coverage of the lamp and do not rush this step.
Tip: Invest in a high-quality lamp and replace bulbs regularly to maintain efficiency.
5. Control Oil and Moisture Exposure
Before applying any polish, ensure nails are clean and oil-free. Instruct clients to avoid lotions or oils just before their manicure. After application, use cuticle oil sparingly and advise waiting a few hours before getting hands wet.
Tip: Utilize an odourless dehydrator if clients have naturally oily nails.
6. Master the Top Coat Application
Like the base coat, the top coat should be applied meticulously. It seals and protects the colour beneath, so make sure it’s spread to cover all edges. Double down on the tip area of the nail to reduce wear and tear.
Tip: Opt for a no-wipe top coat for a glossier finish and reduced sticky residue.
7. Rethink Everyday Activities
Educate clients about protecting their manicures in everyday tasks. Encourage wearing gloves during chores involving harsh chemicals or prolonged exposure to water, like dishwashing.
Tip: Highlight post-manicure care by offering a small take-home kit with essentials like a travel-size moisturizer and nail strengthener.
Conclusion
Achieving a long-lasting gel manicure is all about precision and adherence to best practices. Each step, from preparation to daily care, plays a vital role in maintaining those vibrant nails. If you’ve been struggling with short-lived gel polish, try these tips during your next session. Not only will they enhance the durability of your nails, but they’ll also keep them looking salon-fresh.
I’d love to hear about your experiences or additional tips you might have. Feel free to leave a comment below or share this guide with fellow nail enthusiasts. Let’s keep the community informed and our nails flawless!