


Discovering the secret to a long-lasting hybrid manicure at home can feel like finding a hidden treasure. Imagine the thrill of flaunting nails that look like they just stepped out of a salon, all while you sip your favorite coffee in your pajamas. Sounds dreamy, right? Well, it’s entirely possible with the right techniques and a bit of know-how. With the rise of DIY beauty trends, mastering the art of home hybrid manicures has never been easier or more exciting.
But what exactly is a hybrid manicure? Think of it as the love child of traditional nail polish and gel. It offers the glossy finish and durability of gel while being easier to apply and remove. The result? A stunning, chip-free manicure that can last up to two weeks or more! However, achieving that perfect look at home requires some essential tools and a few handy tricks.
In this guide, you’ll uncover the must-have items that will elevate your nail care game. From high-quality hybrid polishes to the right tools for application, we’ll cover everything you need to get started. We’ll also walk you through a step-by-step process that ensures your nails not only look fabulous but also stand the test of time. Plus, we’ll share tips for maintaining your manicure so that it remains fresh and vibrant.
And let’s not forget about the common mistakes that can sabotage your efforts. By learning what to avoid, you’ll save yourself time and frustration. Finally, we’ll touch on the best practices for safely removing your hybrid polish, ensuring your natural nails remain healthy and strong. So, are you ready to say goodbye to chips and hello to beautiful nails? Let’s dive in!
Essential Tools for Home Hybrid Manicures
Gathering the right tools is crucial for a successful hybrid manicure. Think of it like cooking; if you don’t have the right ingredients, your dish won’t turn out as expected. To achieve that salon-quality finish right in your living room, you’ll need a few essential items. Let’s dive into what you’ll need to create a stunning hybrid manicure that lasts.
First and foremost, you’ll want a high-quality hybrid nail polish. This is the star of your show! Choose a brand that offers a wide range of colors and has good reviews for durability. Pair it with a base coat and a top coat designed for hybrid polishes. These will not only enhance the color but also provide that much-needed protection against chips and scratches.
Next, don’t forget about your UV/LED lamp. This nifty gadget is essential for curing your polish and ensuring it hardens properly. Without it, your manicure might end up looking like a soggy mess! Also, invest in a good set of nail tools such as cuticle pushers, nail files, and buffers. These tools will help you prep your nails for a smooth application, ensuring that your polish adheres well and looks flawless.
Finally, consider having some nail wipes and cleanser on hand. These will come in handy for cleaning your nails before application and for wiping away any excess polish. Remember, preparation is key! With these tools in your arsenal, you’re well on your way to mastering the art of home hybrid manicures.
Step-by-Step Application Process
Ready to transform your nails into a stunning masterpiece? Achieving a flawless hybrid manicure at home is easier than you think! Let’s dive into the that will have your nails looking salon-fresh without ever stepping foot outside. First things first, make sure you have all your essential tools at hand. You’ll need a good quality hybrid polish, a base coat, a top coat, a UV/LED lamp, and some nail prep products to ensure your manicure lasts.
Start by prepping your nails. This means thoroughly cleaning them, pushing back your cuticles, and buffing the surface lightly. Think of this step as laying the foundation for a beautiful house; without a solid base, everything else might crumble. Next, apply a thin layer of base coat and cure it under your lamp for about 30 seconds. This step is crucial as it helps the polish adhere better.
Now, it’s time to apply your hybrid color! Use a brush to apply a thin layer of your chosen color, making sure to cover the entire nail and avoid the cuticles. Remember, thin layers are key—if you apply too thickly, it can lead to chips. Cure this layer under the lamp for another 30-60 seconds. If you want a more vibrant color, feel free to add a second layer, curing it again afterward.
Once you’re satisfied with the color, it’s time for the top coat. This layer adds that gorgeous shine and protects your manicure from everyday wear and tear. Apply it just like you did the color, then cure it one last time. Finally, wipe off any sticky residue with a lint-free wipe soaked in isopropyl alcohol to reveal your dazzling, chip-free nails!
And there you have it! With these simple steps, you can achieve a professional-looking hybrid manicure right in the comfort of your home. Just remember, practice makes perfect, so don’t be discouraged if your first attempt isn’t flawless. Keep experimenting, and soon you’ll be the envy of all your friends!

Tips for Maintaining Your Manicure
So, you’ve just nailed that perfect hybrid manicure, and now you’re probably wondering how to keep it looking fresh and fabulous for as long as possible. Well, fear not! Maintaining your manicure is easier than you think, and with a few simple tricks, you can extend the life of your nails and keep them looking salon-fresh. First off, always remember to hydrate your nails and cuticles. Just like your skin, your nails need moisture to stay healthy. Applying a nourishing cuticle oil daily can work wonders!
Next, be mindful of your daily activities. It’s tempting to dive into chores without a second thought, but harsh chemicals can be a manicure’s worst enemy. Consider wearing gloves when doing dishes or cleaning. This simple act can save your nails from chips and dullness. Also, try to avoid using your nails as tools—no prying open cans or scraping off stickers! Think of your nails as delicate canvases that deserve the utmost care.
Another tip is to apply a top coat every few days. This not only adds a layer of protection but also enhances the shine of your manicure. If you’re wondering how often you should do this, a good rule of thumb is every 2-3 days. You can even set a reminder on your phone—trust me, your nails will thank you!
Lastly, if you notice any chips or imperfections, don’t panic. Instead of letting it ruin your look, use a matching polish to touch up the area. It’s a quick fix that can keep your manicure looking polished and put together. Remember, a little maintenance goes a long way in keeping your nails looking stunning!
Common Mistakes to Avoid
When it comes to achieving that perfect hybrid manicure at home, avoiding common mistakes can make all the difference. First off, many people underestimate the importance of prepping their nails. Think of your nails as a canvas; if it’s not clean and primed, the paint won’t adhere properly. Always start with a clean surface, removing any old polish and pushing back your cuticles. This simple step can significantly enhance the longevity of your manicure.
Another frequent error is applying the hybrid polish too thickly. It might seem tempting to slather on a lot of product for a bolder color, but this can lead to chips and uneven drying. Instead, apply thin layers, allowing each coat to dry completely before adding the next. This way, you’ll achieve a smooth, professional finish that lasts longer.
Also, don’t forget about the top coat. Skipping this crucial step is like leaving your masterpiece unprotected. A good top coat not only adds shine but also seals your polish, preventing chips. Make sure to wrap the tips of your nails with the top coat as well; this is a trick that can help your manicure withstand daily wear and tear.
Lastly, if you’re not using a UV or LED lamp, you might be missing out on the full potential of hybrid polish. Many people think they can just let their nails air-dry, but without proper curing, your manicure won’t reach its full durability. So, invest in a good lamp to ensure your nails are perfectly set!
By avoiding these common pitfalls, you’ll be well on your way to flaunting a stunning, chip-free hybrid manicure that turns heads and lasts for weeks!
Removing Hybrid Polish Safely
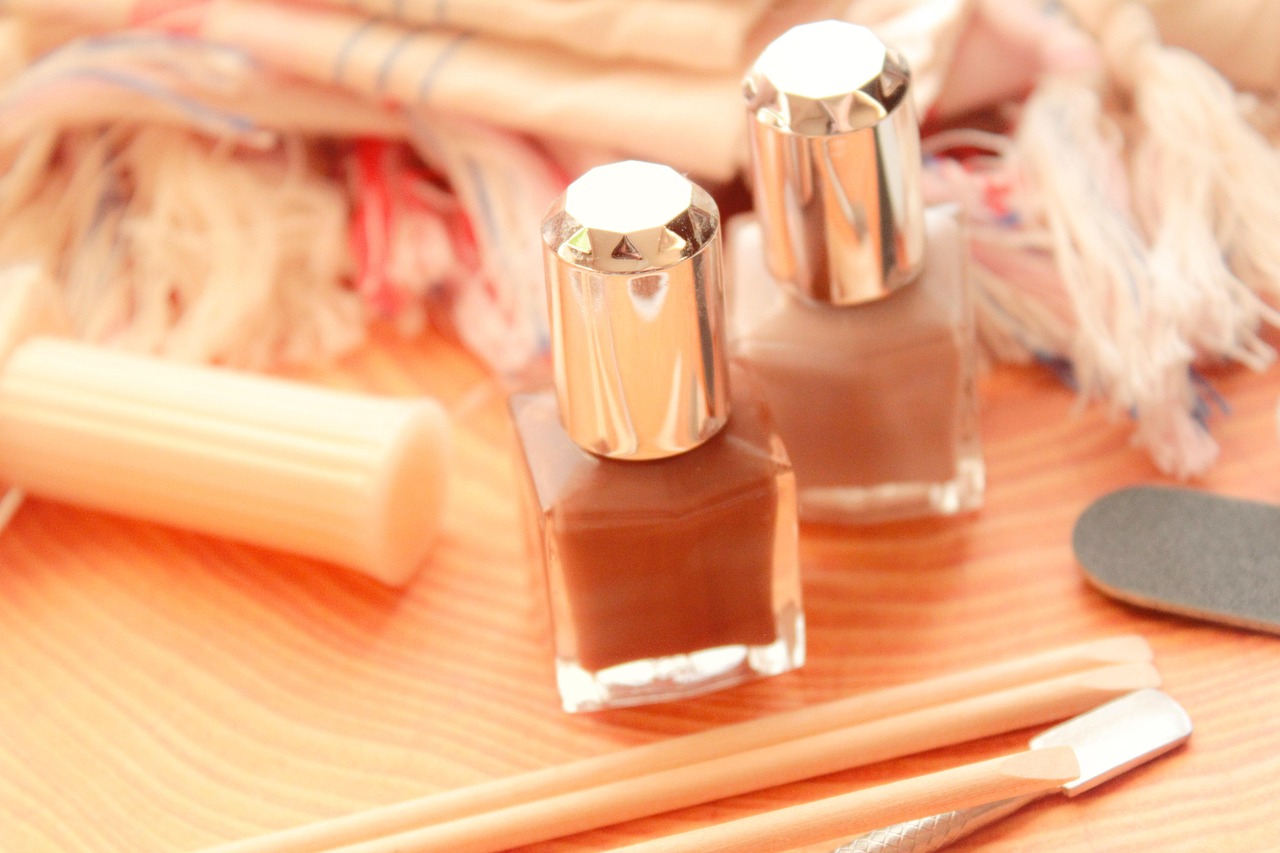
When it comes to removing hybrid polish, the key is to do it gently and effectively to avoid damaging your natural nails. Think of it like peeling a banana; if you rush, you might end up with a mushy mess. Start by gathering your supplies, which include acetone, cotton pads, aluminum foil, and a nail file. Each of these tools plays a crucial role in ensuring that your nails remain healthy and strong.
First, file the top layer of your hybrid polish lightly. This step is essential because it helps the acetone penetrate the polish more easily. However, be careful not to file too deeply; you only want to remove the shiny topcoat. Once that’s done, soak a cotton pad with acetone and place it directly on your nail. Wrap the pad and nail with aluminum foil to create a mini steam bath for your nails. This process can take around 10-15 minutes, so grab a comfy chair and relax!
After the time is up, gently twist the foil and cotton pad off your nail. You should see the hybrid polish lifting away effortlessly. If there are any stubborn bits left, don’t panic! Just use a wooden cuticle stick or a gentle scraper to push them off carefully. Remember, patience is key here—rushing can lead to breakage.
Finally, once all the polish is removed, give your nails a break. Moisturize them with cuticle oil to keep them hydrated. After all, your nails deserve a little pampering after all that hard work! By following these steps, you can ensure that your nails remain in top condition, ready for your next stunning hybrid manicure.