

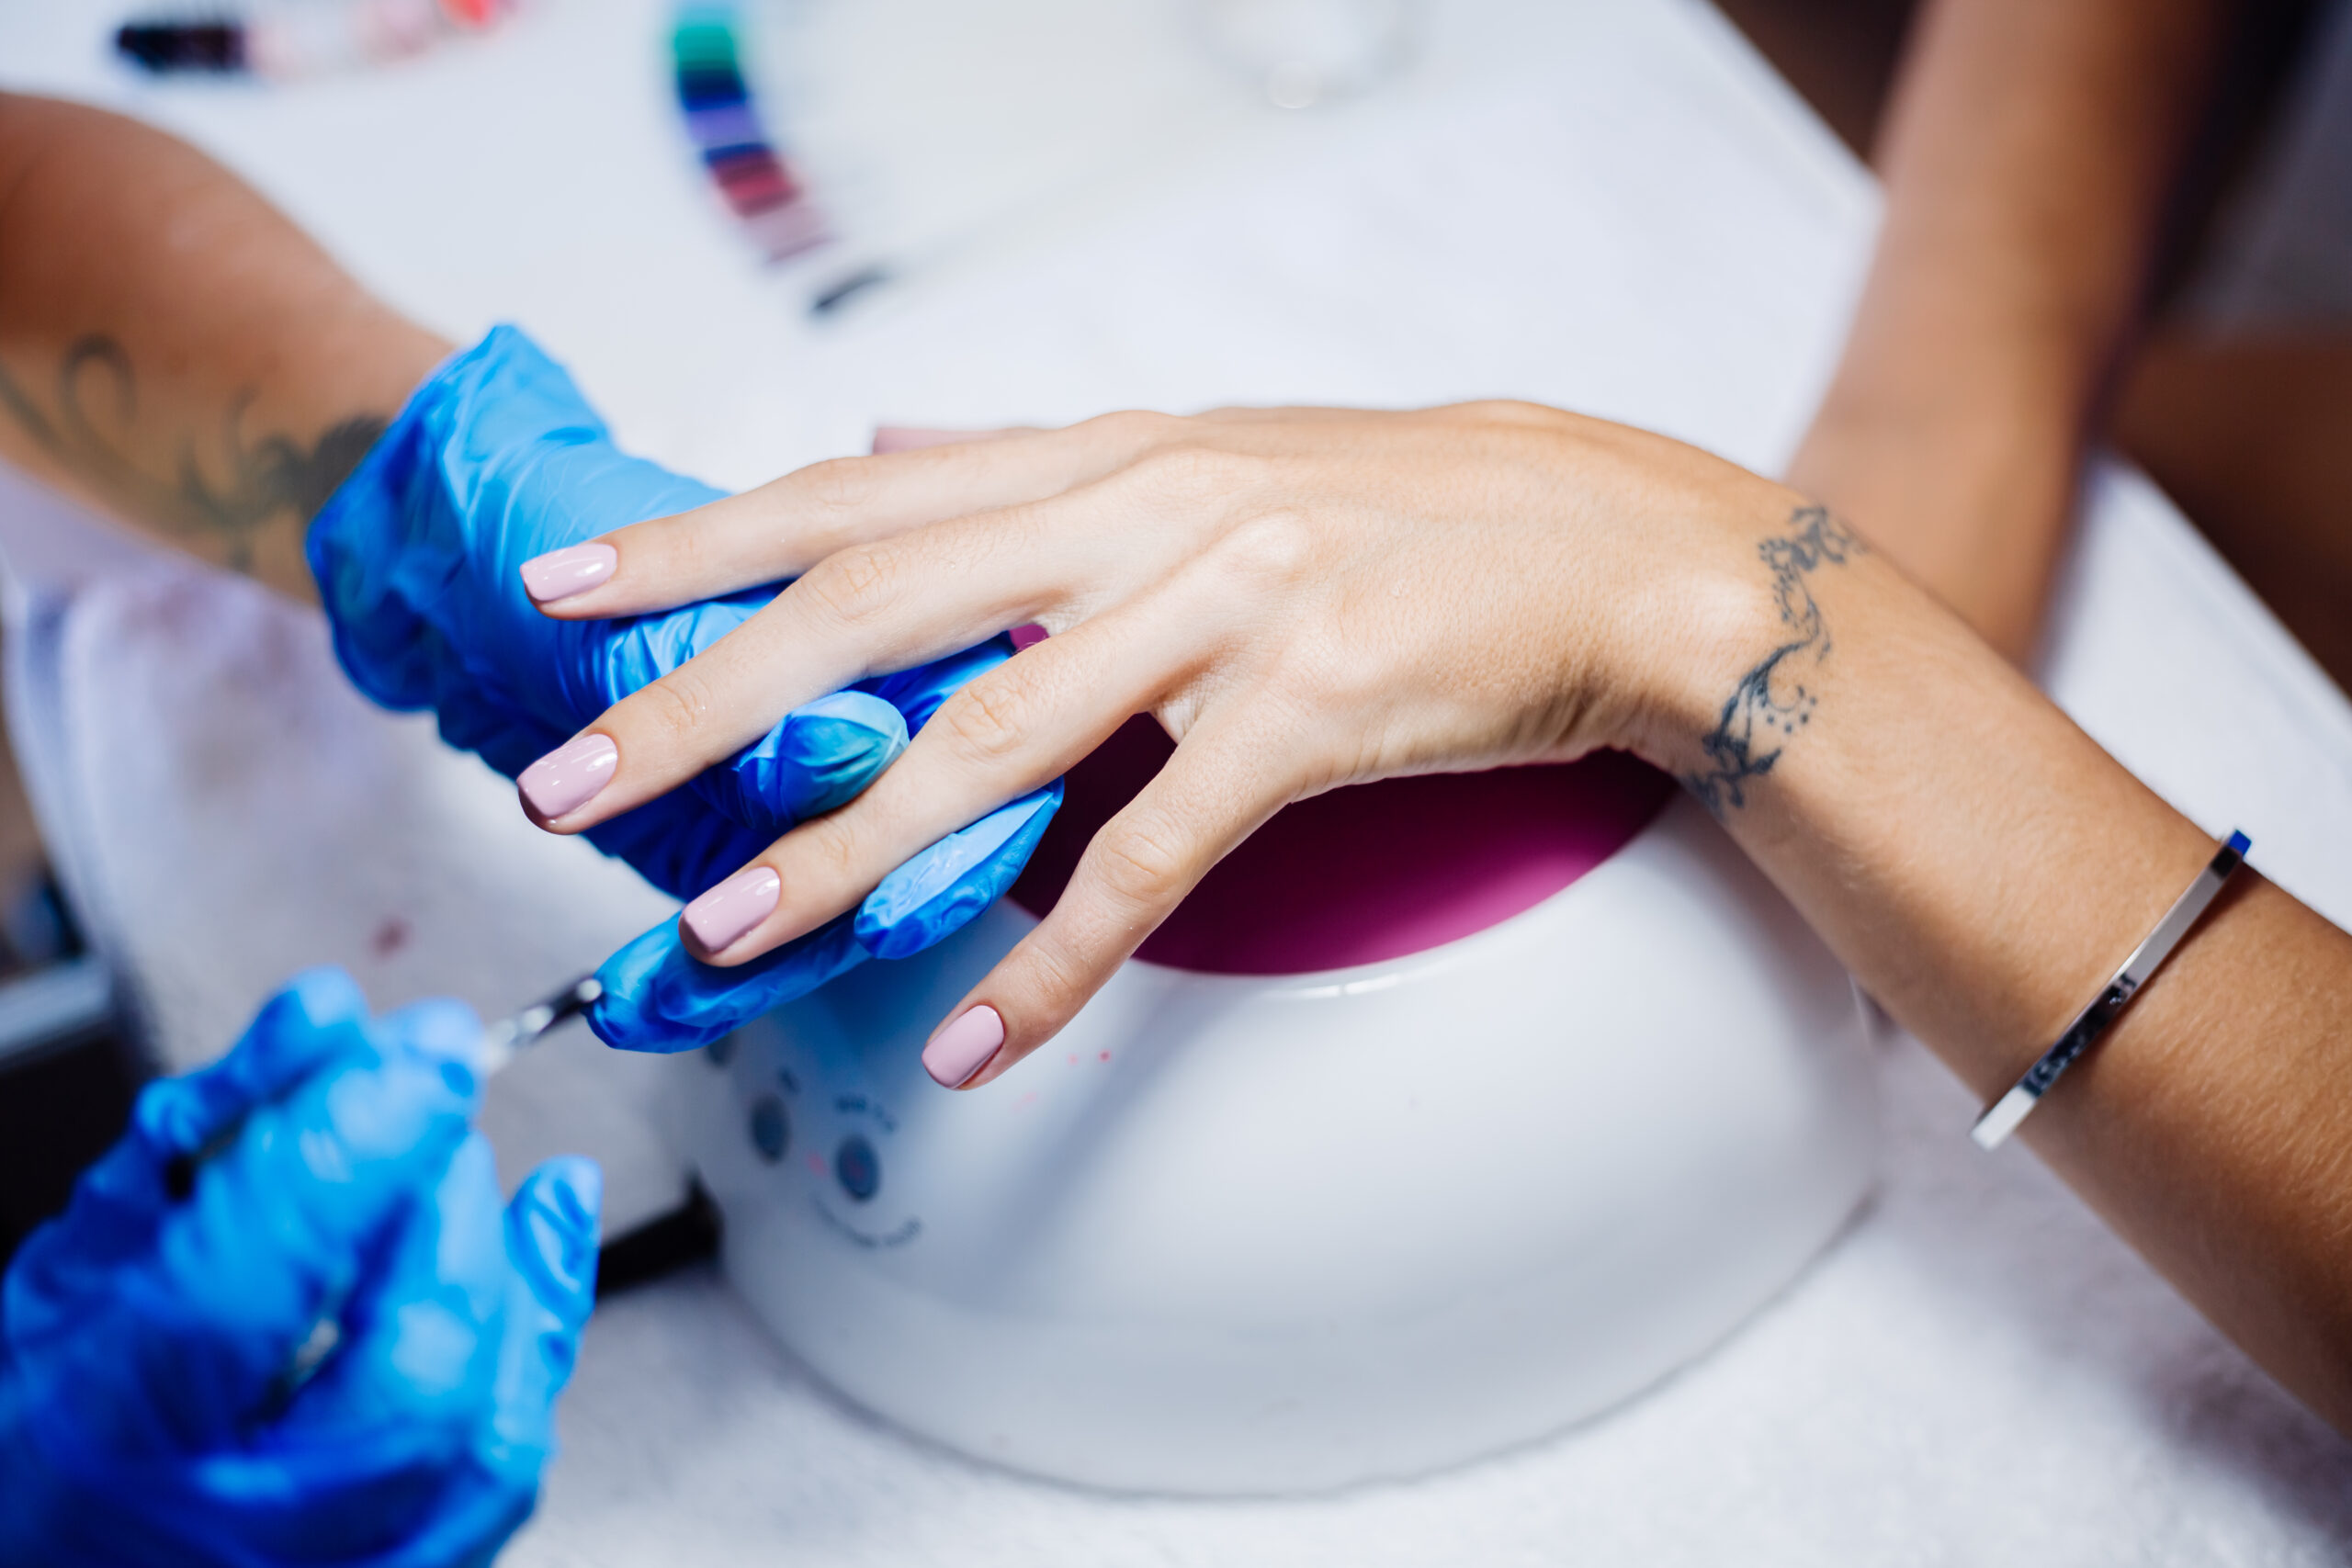
Picture this: you’re sitting comfortably at your table, your favorite cup of tea in hand, a fresh bottle of gel polish ready to go, and the sweet scent of nail products filling the air. You start painting, excited for that glossy, salon-worthy look. But just a few days later? Chips, bubbles, peeling polish. Sound familiar?
If it does, let me tell you a little secret it’s likely not your gel polish’s fault. The real issue? Improper nail prep.
Let’s change that today.
In this in-depth guide, I’ll walk you through the entire nail prep process step by step. Whether you’re a DIY gel polish lover or a frequent salon guest, this article will help you master nail prep for long-lasting, flawless nails.
Why Proper Nail Prep Matters (A Lot More Than You Think!)
Think of this like building a house. Even the most beautiful paint or tiles won’t stick if the foundation is weak. The same goes for your nails durability and beauty begin with the way you prepare your nail plate.
Proper nail prep:
- Boosts adhesion of base coats and gel polishes,
- Minimizes lifting, chipping, and peeling,
- Protects your natural nail from damage,
- Makes your manicure last longer and look better.
Common Reasons Why Gel Polish Doesn’t Last
Before we dive into the step-by-step guide, let’s uncover the most common mistakes that cause gel manicures to fail.
Here’s what usually goes wrong:
- Incomplete cuticle removal,
- Oily or contaminated nail surface,
- Incorrect nail buffing technique,
- Skipping nail dehydrator or base coat,
- Using the wrong primer (or none at all),
- Applying coats too thickly,
- Improper curing in the lamp.
Sounds like a lot? Don’t worry. Every one of these mistakes can be easily avoided!
How to Prep Your Nails for Gel Polish (Step-by-Step Guide)
Step 1: Remove Old Product Thoroughly Gently Is Key!
Start by removing your previous manicure. Use an electric nail file or a nail file with the right grit. Never peel, pick, or force off gel polish it can damage your nail plate.
Tip:
If you’re using acetone, wash your hands thoroughly afterward and wait a few minutes before moving on.
Step 2: Shape Your Nails
Using a high-quality nail file (ideally 180/240 grit), shape your nails to your desired style square, almond, oval, you name it! Smooth out any rough edges.
Pro Tip:
Skip metal files they can cause nail splitting.
Step 3: Push Back & Remove Cuticles
This step is crucial not just for looks, but also for long-lasting gel polish adhesion.
- Soften your cuticles with a cuticle remover,
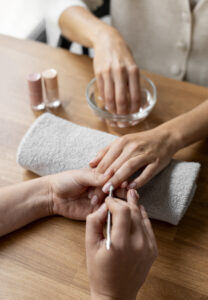
- Gently push them back with an orangewood stick or cuticle pusher,
- Carefully trim only the excess skin using a cuticle nipper (if necessary).
Warning:
Never cut beyond what’s necessary. Be gentle.
Step 4: Buff the Nail Surface
Buffing your nails creates the perfect foundation for gel polish.
- Use a soft buffer or a 180-grit nail file,
- Gently remove the natural shine from your nail plate,
- Your goal is to lightly mattify, not thin out your nails.
Golden Rule:
Buffing should be gentle and minimal no heavy filing!
Step 5: Cleanse & Dehydrate Your Nails
Wipe each nail thoroughly using a lint-free wipe soaked in nail cleanser or a nail dehydrator.
This step removes dust, oils, and moisture, leaving your nails perfectly clean and ready for product.
Step 6: Apply Primer Yes or No?
Primer can make or break your gel manicure especially if you struggle with lifting.
Types of Primers:
- Acid-Free Primer – Gentle, suitable for healthy nails.
- Acid-Based Primer – Stronger, great for oily or problematic nails.
Apply it sparingly just a tiny dot where needed.
Step 7: Base Coat Time!
Now your nails are ready for the base coat. Apply a thin, even layer and cure it under your lamp as per the product’s instructions.
Pro Tip:
Avoid flooding your cuticles! Keep a tiny gap (about 1mm) around the edges.
My Must-Have Nail Prep Products (Trusted & Loved by Nail Enthusiasts)
Here are the products I personally recommend tested and loved by many nail professionals and DIYers:
- 180/240 Grit Nail Buffer Block – Gentle but effective.
- Vitamin-Infused Nail Cleanser – Cleanses and nourishes.
- Acid-Free Nail Primer – Safe for most nails.
- Cuticle Remover with Oils – Softens and hydrates simultaneously.
- Rubber Base Coat – Flexible and beginner-friendly.
- Paper Nail Files (180/240 Grit) – Gentle on the nail plate.
Top Nail Prep Mistakes (And How to Fix Them!)
❌ Over-Buffing
➡️ Light buffing only just enough to remove the shine.
❌ Skipping Primer on Problem Nails
➡️ Use primer if you struggle with gel polish lifting.
❌ Flooding Cuticles with Base or Gel Polish
➡️ Always leave a small gap this helps avoid lifting and chipping.
❌ Incomplete Nail Cleansing
➡️ Every speck of dust or oil counts be thorough!
Nail Technicians Share Their Best Prep Tips
I reached out to a few nail tech friends for their tried-and-true prep secrets. Here’s what they shared:
“Slow down! Rushing through nail prep is the number one reason gel manicures fail. Taking 15 extra minutes upfront can save you from days of frustration later.”
— Kasia, Nail Technician (12 Years Experience)
“Precision is everything. Thin, even layers are always better than thick, sloppy coats.”
— Ania, Nail Educator & Artist
Final Thoughts: Your Path to a Long-Lasting Gel Manicure
Now you know exactly how to prep your nails before applying gel polish. No magic, no guesswork just technique, care, and a little patience.
Quick Recap:
✔️ Remove old product carefully,
✔️ Shape your nails,
✔️ Push back and trim cuticles,
✔️ Gently buff the surface,
✔️ Thoroughly cleanse and dehydrate,
✔️ Apply primer (if needed),
✔️ Apply base coat correctly.
It’s Your Turn!
What are YOUR favorite nail prep tips?
Do you have go-to products or a prep routine that works wonders?
Share your thoughts in the comments below I’d love to hear from you!
Remember: beautiful nails always start with YOU! 💅✨