

Flooding the cuticles with hybrid polish is one of the most common mistakes made by both beginners and some nail technicians. While it might seem like a small detail, it greatly affects the durability and appearance of the entire manicure. In this guide, you’ll learn why flooding the cuticles is a big no-no, what consequences it brings, and discover 3 proven tricks to help you avoid this issue for good.
Why Is Flooding the Cuticles a Serious Mistake?
Flooded cuticles are not just an aesthetic issue. When hybrid polish touches the skin:
- It starts peeling faster – the polish doesn’t adhere properly to the nail plate,
- The manicure becomes less durable – it can chip within just a few days,
- There’s a higher risk of inflammation or allergic reactions,
- It looks messy and heavy, which ruins the overall effect.
In professional salons, flooded cuticles indicate that the technique needs improvement. Fortunately, this can be fixed!
What Causes Flooded Cuticles?
Before we dive into solutions, it’s important to understand what might be causing this problem:
- Too much polish on the brush,
- Polish with overly runny consistency,
- Lack of control over hand movement,
- Inadequate cuticle preparation (e.g. not pushing them back or trimming),
- Poor lighting at the workstation,
- Rushing or lack of experience.
3 Tricks to Avoid Flooding the Cuticles
1. Proper Preparation of the Cuticles and Nail Plate
The first step is thorough preparation of the nail plate and cuticle area. Even the best hybrid polish won’t hold if you don’t take care of the base.
What should you do?
- Push back the cuticles using an orangewood stick or pusher.
- If needed, use a nail drill or cuticle nippers – but don’t damage the nail matrix.
- Buff the nail plate lightly with a fine buffer block.
- Use a nail cleanser and optionally a primer (acid or acid-free, depending on the nail type).
This stage is essential. Poor preparation = weak adhesion and a higher risk of flooded cuticles.
2. Painting “at a distance” – the 1 mm Rule
You don’t need a microscope-level precision – a 1 mm gap between the polish and the cuticle is enough for a clean, professional look.
How to do it?
- Wipe excess polish off the brush inside the bottle neck.
- Place the brush near the cuticle, but don’t touch it.
- Start painting the center of the nail, then pull the polish toward the sides.
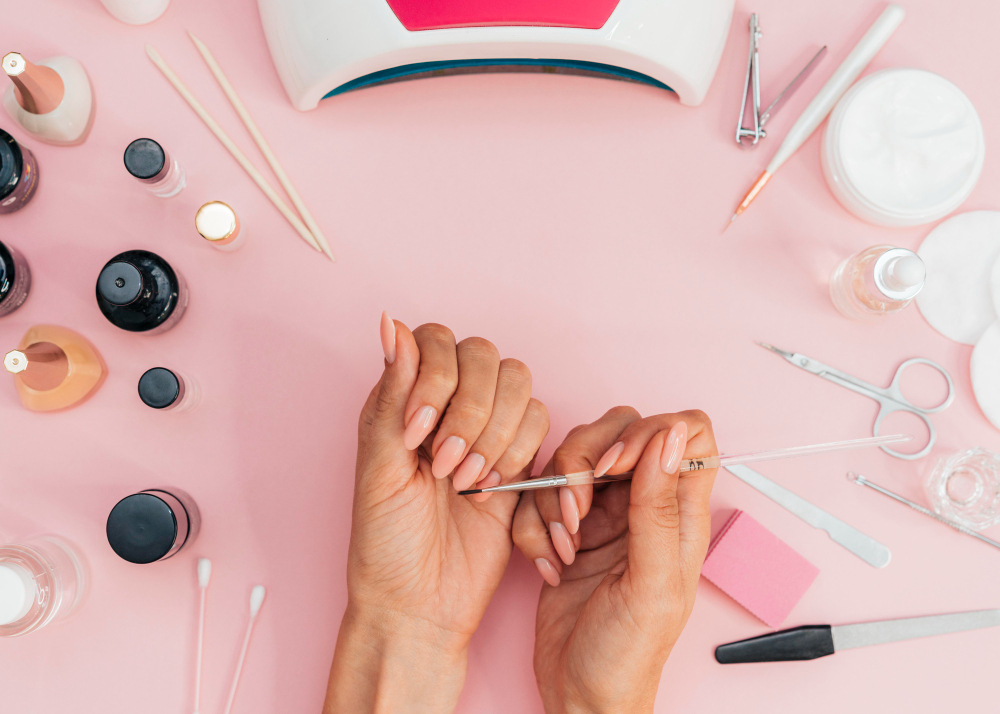
- Use a fine detailing brush for extra precision if needed.
It also helps to cure each nail individually under a UV LED lamp, to avoid polish running into the cuticle area.
3. Choose the Right Polish and Apply Thin Layers
Not all hybrid polishes are created equal. Some are too runny, others too thick.
What to look for?
- Choose medium-thick consistency products – they won’t run but still spread well.
- Apply thin layers – better to do 2–3 thin coats than one thick one.
- Use a base coat suitable for the nail type.
- Always seal the free edge of the nail.
Bonus Tips from the Salon:
- Work under proper lighting – ideally a cool-toned LED lamp.
- Keep an orangewood stick or thin brush on hand for quick corrections.
- Don’t cure a nail with flooded cuticles – remove the polish immediately and fix it first.
- Always work at a calm pace – rushing kills precision.
Mistakes to Avoid
- Don’t overload the brush with product.
- Don’t use thin polishes that require multiple coats.
- Don’t skip the buffing or dehydrating step.
- Don’t leave flooded cuticles “because it’s too late” – always fix them before curing.
Summary
Flooded cuticles don’t have to be your reality anymore. Just focus on:
- Proper preparation of the nail plate and cuticles,
- Precise painting 1 mm away from the cuticles,
- Choosing the right products and applying thin coats.
If you follow these 3 tricks – you’ll see the difference in your very next manicure!
Do you have your own trick for perfect, precise nail painting? Or a story from the salon? Leave a comment below and join the conversation!