

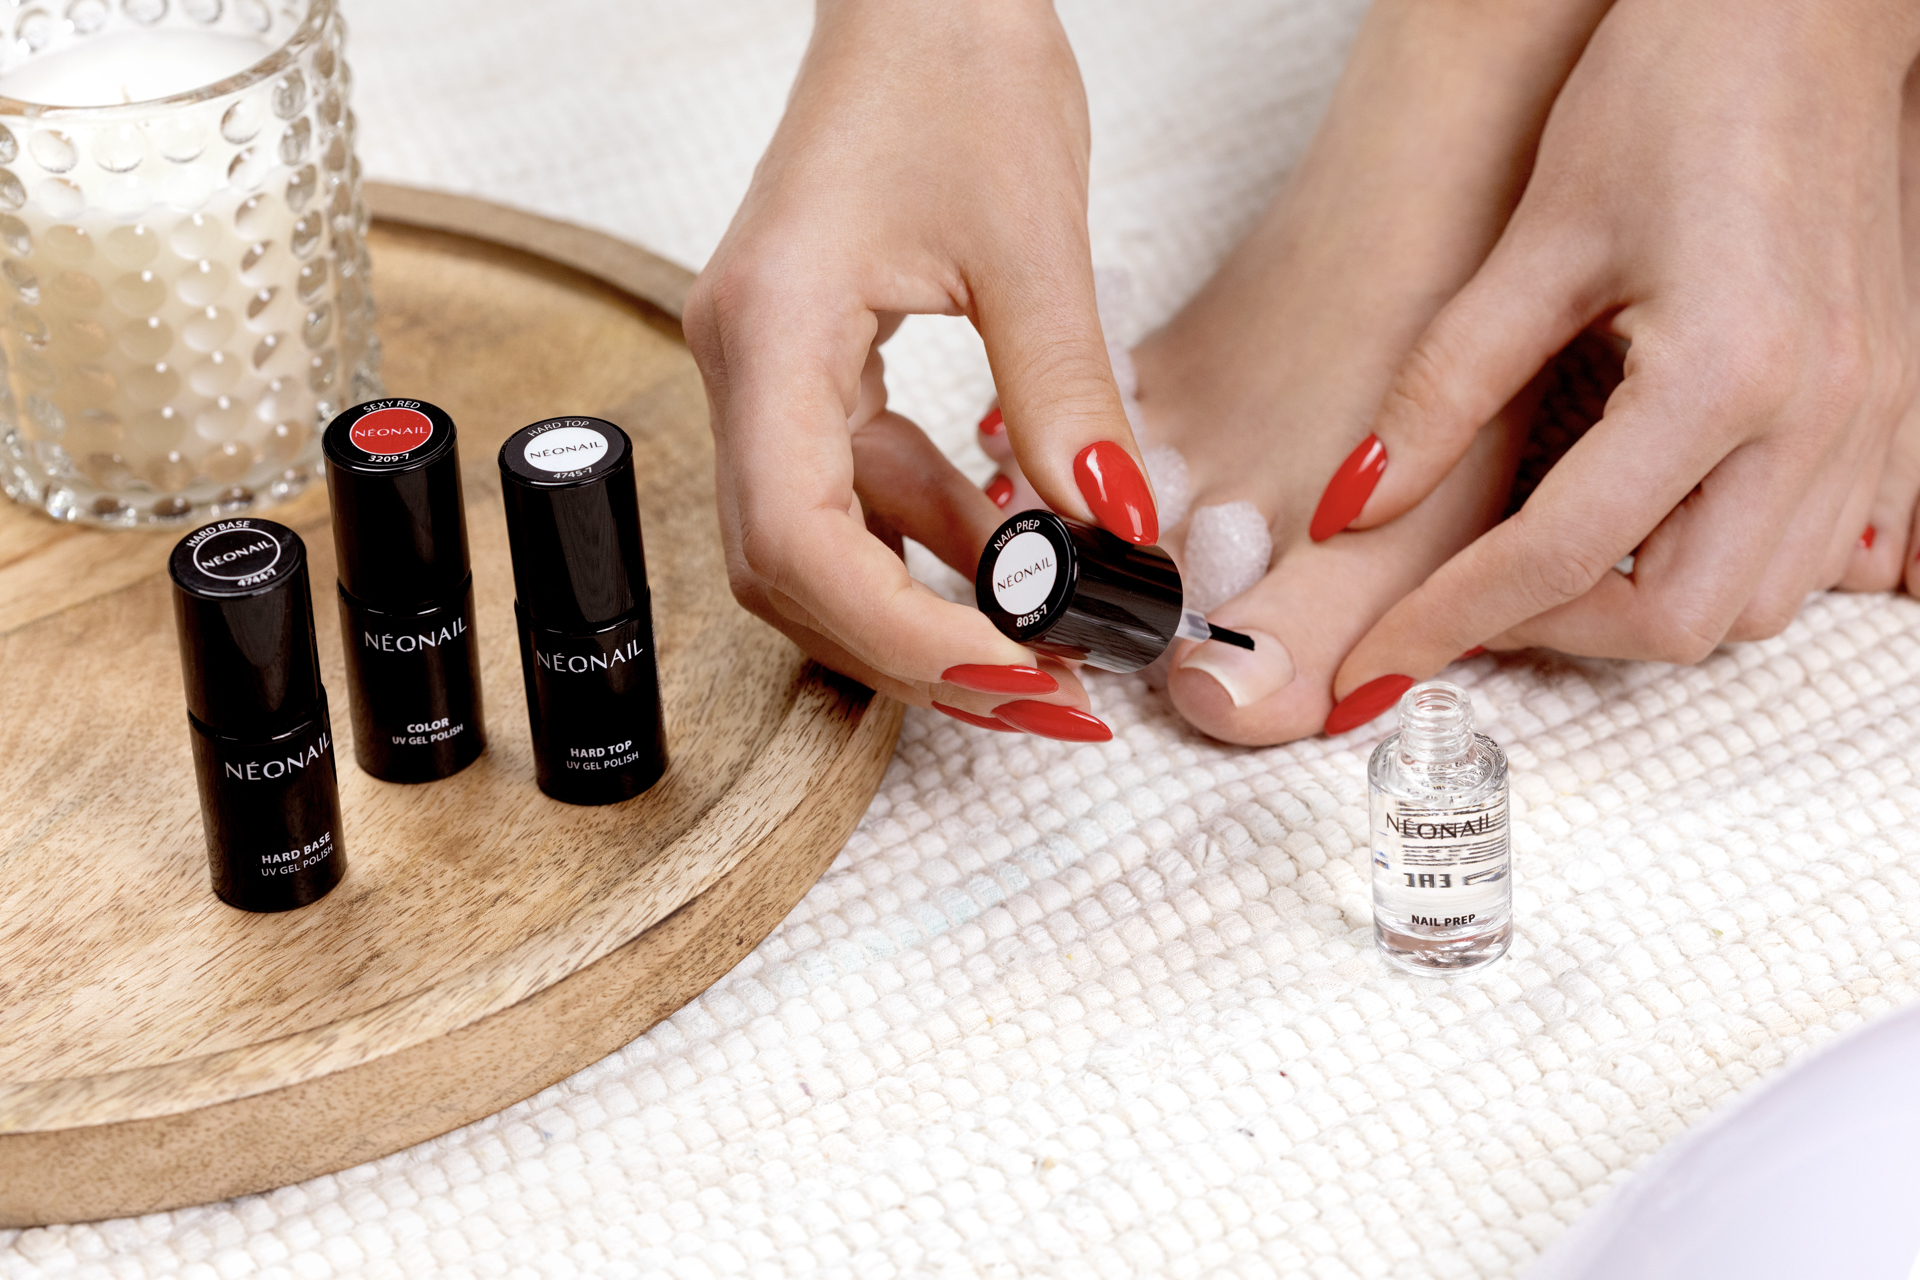
A gel manicure is one of the most popular and convenient ways to care for your nails, offering long-lasting color, intensity, and a perfect finish that lasts for weeks. One of the most frequently asked questions by beginners is how to achieve the perfect gel manicure at home. With the right products and a few simple steps, you can achieve a salon-quality manicure in the comfort of your own home.
Thanks to Neonail, which offers the best gel polishes and accessories, achieving a perfect gel manicure has never been easier. In this guide, we’ll show you how to achieve a long-lasting gel manicure step by step, even if you’re just starting your gel manicure journey.
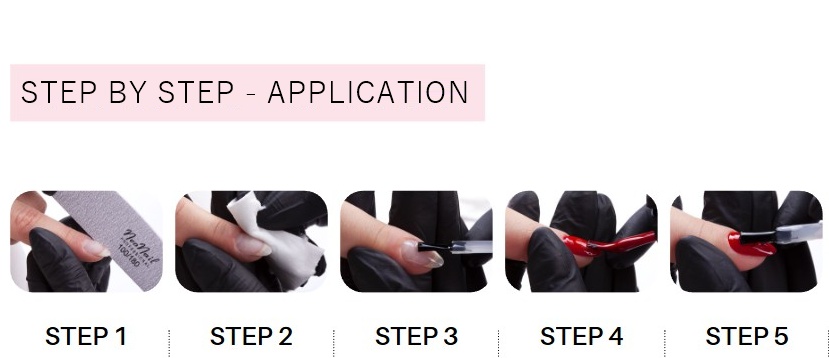
Step 1: Prepare Your Nails for the Gel Manicure – A Key Step in Achieving a Perfect Finish
Before you start applying your gel polish, it’s very important to properly prepare your nails. Skipping this step can lead to the gel polish chipping or peeling off quickly. Here’s how to properly prepare your nails:
- Remove old gel polish: If you already have a gel manicure, begin by removing the old gel polish using an acetone remover or a gel polish remover. Simply saturate a cotton pad with acetone and gently remove the old gel layer.
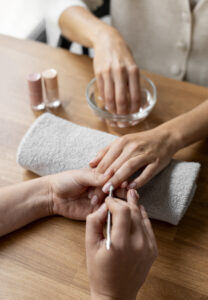
- Care for your cuticles: Using a cuticle oil or softener, gently push back your cuticles using a wooden stick or a metal tool. Properly cared-for cuticles give your nails a neat and polished look.
- Buff the Nail Surface: Use a file or nail buffer to gently buff the surface of your nail. This step ensures better adhesion of the gel polish to the nail plate, preventing any lifting or chipping.
- Cleanse the Nails: Use Neonail Cleaner to wipe away any dust, oil, or residue from the nail surface. Cleansing is crucial for the gel polish to adhere properly.
Step 2: Apply Base Coat – The Foundation of a Long-Lasting Gel Manicure
The base coat is an essential element in creating a flawless gel manicure. It ensures better adherence and also protects the nail plate from any discoloration caused by the gel polish.
- Choosing the right base coat: Neonail Base is an excellent choice that works perfectly with Neonail gel polishes. It’s formulated to improve the adhesion of the gel polish and protect your nails.
- Applying the base coat: Use the brush to apply a thin layer of base coat to your nails. Be sure to avoid touching the cuticles. The key is to apply a thin, even layer for the best results.
- Curing the base coat: After applying the base coat, cure it under a UV or LED lamp for the recommended amount of time (usually 30-60 seconds). Curing ensures that the base coat hardens properly, creating a solid foundation for the gel polish.
Step 3: Apply Gel Polish – Bold Colors and a Flawless Shine
Now it’s time to apply the gel polish color. Neonail offers a wide range of gel polish colors, from classic shades to bold neon hues, so you can choose the perfect shade to match your style.
- Choosing your gel polish color: Choose your favorite gel polish from Neonail. The brand offers vibrant, long-lasting shades that have easy application and a beautiful finish.
- Applying the gel polish: Apply a thin layer of gel polish starting from the center of the nail, moving toward the edges. Be careful not to apply too much product; a thin layer will prevent streaks and give you the best coverage.
- Curing the polish: After applying the first layer, cure it under the UV or LED lamp for 30 seconds to 2 minutes, depending on your lamp type. Apply a second coat of gel polish to achieve full coverage and cure again.
Step 4: Apply Top Coat – For Instant Shine and Protection
The final step in achieving the perfect gel manicure is applying a top coat, which will protect your gel polish and give it an intense shine. The top coat is essential to prevent your manicure from chipping and fading over time.
- Choosing the right top coat: Neonail Top Coat is the perfect finishing touch for a flawless gel manicure. It provides both durability and shine, ensuring your manicure stays looking fresh for longer.
- Applying the top coat: Apply a thin layer of top coat to your nails, ensuring you cover the entire nail evenly. Be careful not to touch the cuticles.
- Curing the top coat: Once the top coat is applied, cure it under the lamp for 1–2 minutes, depending on your lamp’s specifications.
Step 5: Finishing Touch – Protect and Care for Your Nails
Once your gel polish is cured and completely dry, there are a few additional steps to make sure your manicure looks flawless.
- Removing the sticky layer: After curing the top coat, use Neonail Cleaner to remove any sticky residue from the surface of your nails. This will leave them smooth and shiny.
- Cuticle care: Apply cuticle oil to the skin around your nails to hydrate and nourish it. This final step ensures your manicure looks professional and your cuticles stay healthy.
Conclusion – How to Achieve the Perfect Gel Manicure in 5 Simple Steps
Achieving the perfect gel manicure at home using Neonail gel polishes is easier than ever with just five simple steps – from preparing your nails, applying the base coat, gel polish, and top coat, to the final finishing touches. With Neonail, you have access to easy-to-apply gel polishes and tools that help you create a long-lasting manicure that stays looking fresh for weeks.
Remember, the key to a perfect gel manicure is patience and precision. With the right products and a bit of care, even beginners can achieve salon-quality results right at home.