

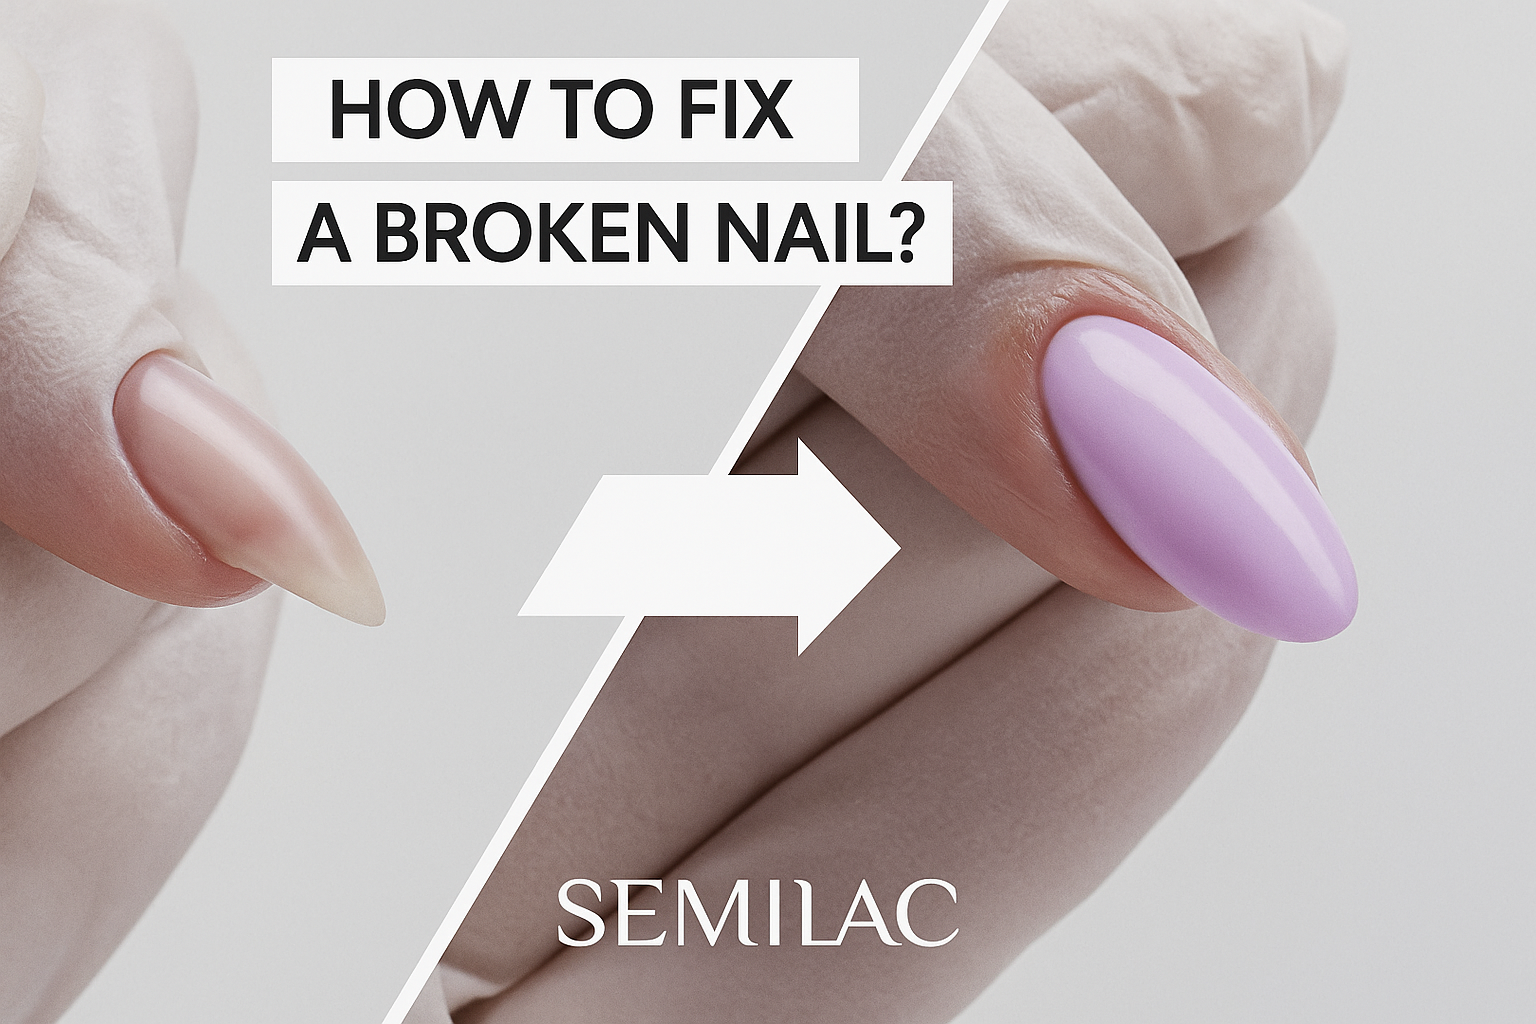
You know the feeling: you’ve just finished a fresh hybrid manicure, everything looks flawless, and suddenly—snap! One of your nails breaks or cracks. Even though gel (hybrid) nails are known for their durability, they’re not immune to mechanical damage or a weakened natural nail plate. So, what should you do? Do you have to remove the whole manicure? Or is there a way to save the style without a trip to the salon?
As an experienced copywriter with over 10 years in the beauty & wellness industry, particularly in nail care and hybrid styling, I’ve prepared this in-depth guide to show you how to fix a broken nail under gel polish with three proven methods.
Why Do Gel Nails Break? Most Common Causes
Before we move on to solutions, it’s helpful to understand where the problem comes from. While hybrid nails are more resistant than regular polish, they’re not indestructible.
Here are the most common causes of a broken nail under gel polish:
- Mechanical damage – like hitting your nail on a hard surface.
- Weakened nail plate – often from frequently removing and reapplying gel polish without breaks.
- Improper nail prep before styling (poor buffing or not degreasing).
- Too thin a layer of base or builder in key stress points (like the apex).
- Poor home care (lack of cuticle oil and plate hydration).
Understanding these causes will help you not only fix a broken nail effectively but also prevent future damage.
How to Fix a Broken Nail Under Gel Polish: 3 Reliable Methods
Depending on the severity of the break, you can use one of three proven repair techniques. Each method is explained step-by-step, along with recommended tools and products.
1. Repair with Silk Wrap
Best for nails that are cracked but not fully broken off.
You will need:
- silk wrap strips,
- nail glue or gel base coat,
- nail file and buffer block,
- gel top coat,
- UV/LED lamp.
Step-by-step:
- Sanitize your hands and nail.
- Gently buff the nail surface.
- Apply a thin layer of glue or base and place the silk strip on top.
- Cure under lamp (if using gel base).
- Buff to smooth.
- Proceed with your usual manicure: base, color, top.
Pros: invisible fix, good durability.
2. Use Builder Base to Strengthen the Crack
Perfect for vertical cracks or when the gel has lifted slightly.
You will need:
- builder base (e.g., rubber base),
- file and buffer block,
- nail cleaner,
- fine brush (e.g., nail art brush),
- UV/LED lamp.
Step-by-step:
- Clean and buff the nail.
- Using a fine brush, apply a small amount of builder base over the crack to create a “bridge.”
- Cure, then apply a full coat of builder base.
- Build the apex and cure again.
- Buff smooth and apply color.
Pros: quick fix without removing full polish.
3. Nail Reconstruction with a Form
For severe breaks, especially near the nail bed.
You will need:
- nail extension forms,
- builder base or builder gel,
- 180/240 grit file,
- nail primer,
- cleaner,
- UV/LED lamp.
Step-by-step:
- Remove old gel polish.
- Fit a nail form under the broken nail.
- Prime the nail.
- Apply a thin layer of base and cure.
- Build the nail length with gel or base.
- File into shape and finish your manicure.
Pros: full reconstruction, not just a temporary fix.
Must-Have Products for Emergency Nail Repair
If you often do your own hybrid manicure, it’s wise to keep a basic emergency kit on hand:
- nail glue or gel base,
- silk wrap strips,
- builder base/rubber base,
- nail forms,
- fine nail brush,
- keratin treatment for damaged nails,
- cuticle oil.
All these items are available in our online store—we specialize in professional-grade nail styling products!
Common Mistakes When Fixing a Broken Nail
- Skipping disinfection – can lead to infection.
- Using too much product – leads to lifting and uneven finish.
- Skipping apex build-up – the nail will be more prone to future breaks.
- Not curing each layer properly – weakens the whole structure.
Expert Recommendations
As a nail stylist with years of experience, I recommend:
- avoiding hot water soaking for a few days after repair,
- daily oiling of cuticles and nails,
- avoiding mechanical stress (like opening cans with nails).
If your nails break frequently, take a 1-2 week break from gel polish and apply a regenerating treatment with keratin and vitamins.
Conclusion and Call to Action
A broken nail under gel polish is not the end of the world! With the right tools and techniques, you can handle the situation quickly and confidently. I hope this guide gave you practical advice and boosted your confidence in managing your own nail styling.
Have you ever had a similar situation? How did you handle a broken nail? Share your story in the comments below—your experience might help someone else!
Looking for reliable products for your hybrid manicure? Visit our online store and discover quality you can trust.
Beautiful nails aren’t a coincidence—they’re the result of professional choices.