
Introduction Gel polish manicure has become a staple in our daily nail care and beauty routines. More and more women are reaching for gel polishes due to their long-lasting effect, elegant look, and convenience. However, even the most beautiful hybrid manicure can be disappointing when not done properly. In this expert guide, based on over a decade of experience in the beauty industry, we’ll dive into the most common mistakes made during gel polish application and show you exactly how to fix them. Reading on is an investment in the durability and beauty of your manicure!
1. Skipping Proper Nail Plate Preparation
Mistake: Not buffing and dehydrating the nail plate.
Many people think that applying gel polish is just about painting nails. In reality, one of the most important steps is properly preparing the natural nail. Skipping the buffing block or nail dehydrator often results in poor adhesion of the base coat. The result? The polish starts peeling off after just a few days.
How to fix it:
- Gently buff the entire nail surface using a nail buffer.
- Remove all dust particles thoroughly.
- Clean the nail with a nail cleanser/dehydrator.
Salon Tip: Always check the condition of the natural nails. Sometimes it’s better to give them a one-week break than work on damaged nails.
2. Applying Gel Polish in Thick Layers
Mistake: Using too much product in a single coat.
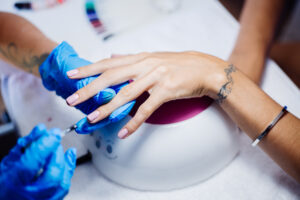
Thick layers don’t cure evenly under the UV LED lamp. They can cause wrinkling, bubbling, or even an uncomfortable burning sensation during curing.
How to fix it:
- Apply thin, even coats, even if that means using 3 coats instead of 2.
- Cure each coat properly under a high-quality lamp.
Expert Tip: Thinner layers don’t just look better – they bond better and last longer.
3. Incorrect Curing Under a UV LED Lamp
Mistake: Using a low-power lamp or not curing long enough.
A common oversight is underestimating the importance of a powerful lamp. Insufficient curing means your gel polish won’t bond properly with the base and top coat, leading to chipping and lifting.
How to fix it:
- Make sure your UV LED lamp has at least 48W of power.
- Follow recommended curing times (usually 30-60 seconds per layer).
- Regularly clean your lamp to remove any leftover product.
Stylist’s Trick: If the polish still wrinkles, the bulbs may be unevenly positioned – test your lamp using a swatch stick.
4. Flooding the Cuticles with Gel Polish
Mistake: Applying gel polish too close to, or directly on, the cuticle area.
This is one of the most common mistakes, especially among beginners. Flooded cuticles lead to lifting and early chipping of the polish.
How to fix it:
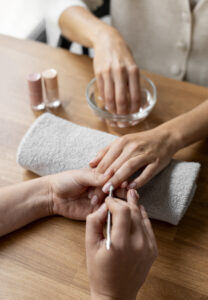
- Use a fine detail brush to apply polish carefully near the cuticles.
- Always push back and/or trim cuticles before application.
- If any product touches the skin, clean it off immediately with an orange stick before curing.
Pro Tip: Master the “under-the-cuticle” technique using a nail art brush for a flawless, long-lasting finish.
5. Skipping the Top Coat or Applying It Incorrectly
Mistake: Skipping the top layer or improper sealing.
The top coat isn’t just for shine – it’s the shield that protects your manicure. Without it, your color is vulnerable to damage and fading.
How to fix it:
- Always use a high-quality top coat (with or without a tacky layer).
- Seal the free edge of the nail.
- If your top coat has a sticky layer, wipe it off with a nail cleanser after curing.
Pro Tip: Once a week, apply cuticle oil and gently polish the surface to refresh the shine.
Summary: Your Ultimate Checklist for Flawless Gel Polish Application
- Buffed and dehydrated nail plate.
- Thin, even coats of color.
- UV LED lamp with at least 48W.
- Precise application near cuticles.
- Durable, glossy top coat.
Join the Conversation
Have you made any of these mistakes before? Or maybe you have your own go-to tips for long-lasting gel polish? Share your experiences in the comments – I’m always curious to hear how others tackle the everyday challenges of nail styling.
Let your manicure not only impress you but also your clients! 🌟