

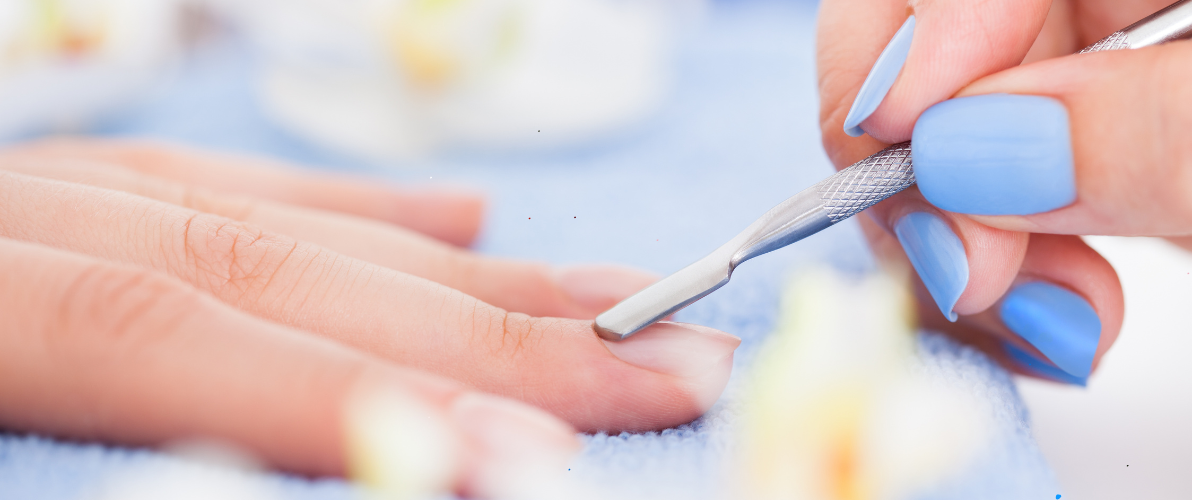
Hello, gorgeous! If you’re here, chances are you already know that gel manicure isn’t just a fleeting trend it’s a lifestyle. A perfectly done set of gel nails can boost your confidence, lift your mood, and make you feel polished and elegant. But as you probably know, the path to perfect nail styling isn’t always smooth. One of the most common issues when doing your own gel nails at home is protecting your cuticles from getting stained with polish.
You’re in the right place. In this article I’ll share not only how to effectively protect your cuticles when applying gel polish, but also:
- why this topic is so important,
- which mistakes to avoid,
- what products are worth having on hand,
- what the pros recommend,
- and how to make your gel manicure look like it came straight from a salon.
Grab your favorite tea, get comfy, and read on. I created this guide with you in mind.
Why Protecting Your Cuticles is the Key to a Perfect Manicure
Picture this: you take the time to carefully prep your nails, choose your favorite gel polish color, apply a layer and… oops! The polish touches your cuticles. The result? Your manicure looks messy, and worse yet, the gel may start peeling or chipping sooner.
Getting polish on your cuticles isn’t just an aesthetic issue it’s a matter of durability and safety. When gel polish touches the skin and gets cured under the lamp, it creates a “bridge” between the nail and the skin, which can lead to:
- air pockets under the polish,
- quicker lifting of the gel,
- irritation and allergic reactions,
- trouble removing the gel later on.
That’s why proper cuticle protection isn’t optional it’s a must for professional-looking nail styling.
Common Causes of Cuticle Staining with Gel Polish
Let’s start by identifying the root of the problem. You’re most likely to get polish on your cuticles when:
- you apply too much product on the brush,
- you’re holding your hand or brush incorrectly,
- you didn’t push back the cuticles before painting,
- you’re using a polish with a runny consistency,
- you paint too close to the cuticle without proper control,
- you’re rushing or working in poor lighting.
Sound familiar? Don’t worry! We’ve all been there. The important thing is knowing how to fix it.
Products That Help Protect Your Cuticles
Here’s a list of tools and products that are worth keeping in your nail kit. You don’t need to buy everything at once, but a few of these are must-haves for any gel nail enthusiast.
1. Liquid Tape / Protective Latex
These are special products you apply around the nail (on the skin) before painting. Once your manicure is done, you peel it off like a rubber film. It creates a barrier that prevents the polish from staining your skin.
What to look for:
- Fast drying time,
- Fragrance-free formula (if you’re sensitive to smells),
- Easy application.
2. Correction Brushes
Thin, precise brushes (like a liner brush) are perfect for cleaning up edges where polish may have spilled. Dipped in cleanser or remover, they can save any mishap.
3. Wooden Sticks / Rubber Pushers
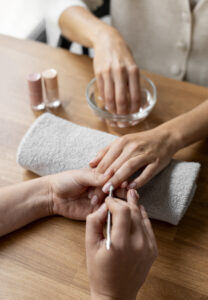
These help push back the cuticles before painting and remove any excess product before curing.
4. Cuticle Oils
After your manicure, don’t forget to moisturize and nourish your cuticles with a good oil.
Step-by-Step: How to Protect Cuticles During a Gel Manicure
Step 1: Prep the Cuticles
- Wash your hands thoroughly.
- Soften the cuticles with warm water or a softening solution.
- Gently push them back using a wooden stick or rubber pusher.
- If you’re comfortable, you can lightly trim them with cuticle nippers.
Step 2: Apply Cuticle Protection
- Apply liquid tape or latex around the nail.
- Wait until it’s completely dry (don’t apply polish on wet latex).
Step 3: Painting
- Pick up a small amount of gel polish.
- Start applying from the center of the nail, gradually moving closer to the cuticles.
- Hold the brush parallel to the nail plate.
- Work slowly and in good lighting.
Step 4: Correcting
- Before curing in the lamp, check for any polish that may have touched the cuticles.
- If needed, clean it up with a brush dipped in cleanser.
Step 5: Final Touches
- Cure the polish under the lamp.
- Remove the protective latex.
- Apply cuticle oil.
Common Mistakes When Protecting Cuticles
- Painting without pushing back cuticles – shortens the life of your manicure.
- Too much polish on the brush – makes it hard to control the application.
- Sitting too close to the UV/LED lamp – can cause the polish to flood the skin.
- Skipping correction before curing – once it’s cured, it’s set.
- Forgetting to remove the protection – may affect the final look of your cuticles.
Expert Recommendations: Tips from Nail Stylists
We asked a few experienced nail techs for their best tips on cuticle protection:
“I always teach my students that less is more. It’s better to apply a thin layer than to struggle with polish on the skin.” Karolina J., nail styling instructor
“Nothing beats a good brush and patience. Even the most expensive gel polish won’t do the job for you.” Ewa T., 12-year veteran nail tech
“I only use latex protection on clients with sensitive skin. For others, brush technique is key.” Magda K., salon owner in Warsaw
A flawless gel manicure is the sum of small steps and a bit of practice. Cuticle protection is one of those steps that makes a huge difference. Don’t skip it even if you’re rushing to a date or meeting friends. Your nails will thank you with long-lasting wear, a beautiful finish, and compliments from everyone around.
Now It’s Your Turn!
Do you have your own cuticle protection hacks? Or are you just starting your gel polish journey and still have questions?
Let us know in the comments!
Share your experience, ask for tips, or show off your nail art. We’re here to support and inspire each other.
And don’t forget to check out our range of gel polishes and manicure accessories. You might just find something that transforms your nail game for good!