
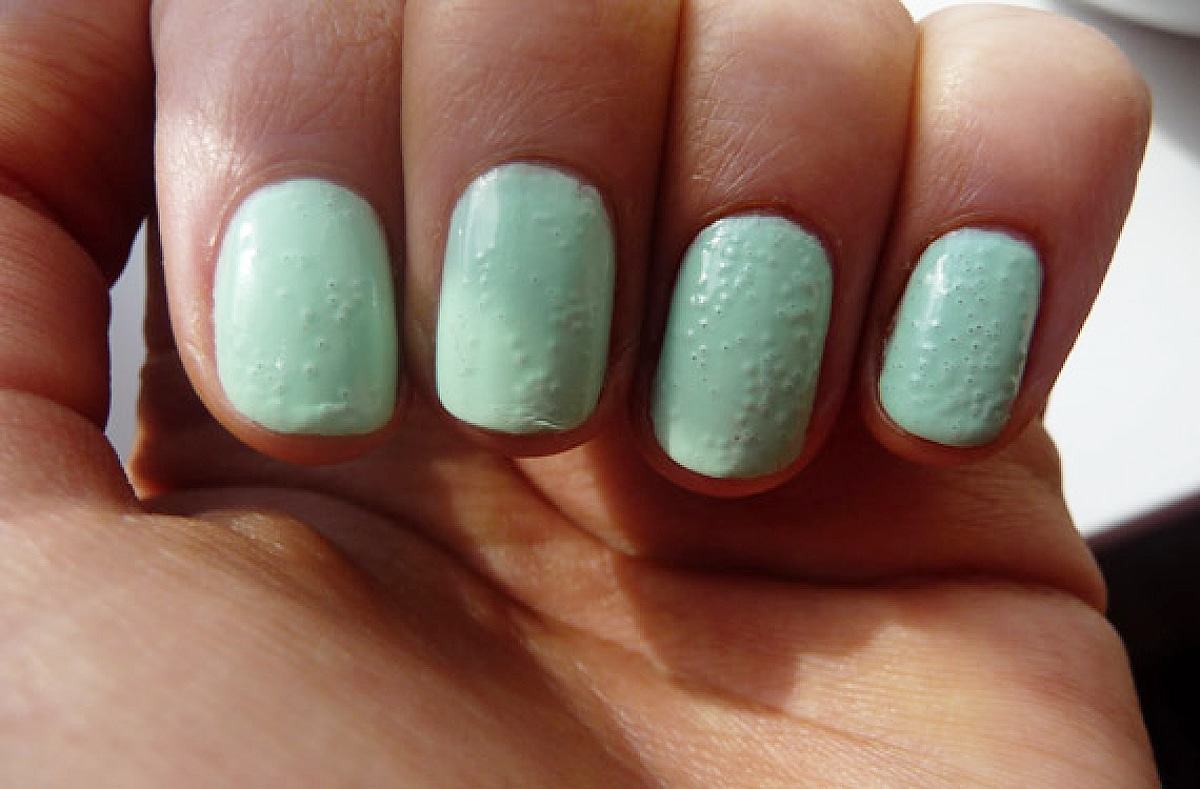
You know that feeling when you notice tiny air bubbles under your fresh gel manicure? Even worse, those little bubbles often turn into chips after just a few days, ruining the entire look of your nail design. Whether you’re doing your gel nails at home or visiting a nail technician this problem can take away all the joy from your manicure.
But don’t worry. This guide is here to help you understand where air bubbles under gel polish come from and, more importantly how to avoid them effectively.
Why Do Air Bubbles Appear Under Gel Polish?
Though they may seem small, air bubbles under the polish are a clear sign that something went wrong in the nail styling process. The most common causes include:
1. Improper Nail Plate Preparation
- Dust left after buffing
- Not degreasing the natural nail plate
- Oily nail surface (naturally or from creams/gloves)
2. Applying Gel Polish Too Thickly
- Using too much base or color traps air beneath the product
- Thick layers may not cure evenly, leading to bubbles and chipping
3. Low-Quality or Incompatible Products
- Mixing base from one brand with color from another can weaken adhesion
- Cheap or expired gel polishes tend to crack and form bubbles
4. Curing Errors
- Not curing long enough in the LED/UV lamp
- Inadequate lamp power
- Hands placed too far from the bulbs in the lamp
5. Incorrect Product Application
- Aerating the product during application (e.g., vigorous stirring)
- Dragging the brush back and forth instead of gently gliding it
Common Mistakes in Gel Nail Styling
- Using the same nail file for multiple clients without disinfection
- Not removing cuticles, causing the product to lift
- Applying base/color on a still-wet previous layer
- Using greasy creams before styling
How to Avoid Air Bubbles? Step-by-Step Practical Tips
Step 1: Proper Nail Plate Preparation
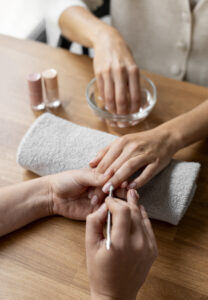
- Push back and remove cuticles (preferably with an e-file or pusher and nippers)
- Buff the nail surface with a buffer block
- Thoroughly dust off the nail with a brush
- Clean the nail with a nail cleaner (degreaser)
Step 2: Thin Layers Are Key
- Apply each layer thinly and evenly, without excess product on the brush
- Let the product self-level without repeatedly brushing over it
Step 3: Use a Good Lamp
- Make sure your lamp is at least 48W and cures according to the manufacturer’s instructions
- Position hands properly under the bulbs
Step 4: Stick to Trusted Products
- Use base, color, and top coat from the same product line
- Check the expiration dates of your gel polishes
- Store products away from heat and direct light
Recommended Products to Minimize the Risk of Air Bubbles
- Professional cleaners and primers
- Self-leveling base coats with strong adhesion
- LED/UV lamps with at least 48W, equipped with sensors and proper hand placement
- No-wipe top coats with good durability and flexibility
Expert Recommendations
“The most common mistake I see among students during training is rushing and applying too thick a layer of base or color. Nail styling is an art of patience and precision if you give yourself some time, the result will be not only beautiful but also long-lasting.” Klaudia P., nail styling instructor with 12 years of experience
Air bubbles under gel polish can be frustrating, but as you can see they’re preventable. Remember, a gel manicure is not just about looks, but also about technique, tools, and product quality. Give yourself time to learn and don’t get discouraged if something doesn’t go right the first time.
Now it’s your turn:
Have you ever had a problem with air bubbles under gel polish? How did you deal with it? Share your experience in the comments let’s help each other create the perfect manicure!